.
.
As a follow-up to my Crochet Coiled Basket Experiment here are the instructions.
(click here for the original post)


These are more like guidelines than instructions that must be strictly followed. Think of yourself as a crochet artist and tinker around with different materials and techniques. Specific instructions don’t work the same way for each person. We all need to bring our own techniques and ideas into our work. I guess this is why I prefer cooking to baking, because I can change recipes as I go along, rather than the precise measuring and exact timing that baking usually requires.
I’ve made lots of coiled crochet baskets and bowls over the years using a wide range items for the cords and yarn, different crochet stitches, different sized hooks, and testing out yarn-over vs. yarn-under wraps. In the experiment I posted last year I used plastic coated wire clothesline and Lion Brand Amazing Variegated yarn. If this is your first time making a coiled crochet basket, I suggest using a softer cording like a cotton clothesline cord as it will be more flexible. While the coated wire makes for a heavy and sturdy basket, it can be hard to work with. It requires a good wire cutter and caution needs to be used with the cut ends as they are sharp.
For most of my baskets and bowls, I start with the following pattern and then adjust as I go along as needed to get the shape I want, and to account for different materials, hook sizes, etc. These guidelines use American crochet terminology.
Round 1: Chain 4 and close loop with a slip stitch (or use a magic circle technique).
Round 2: Make 8 sc in the the loop (or 2 sc in each of the chain 4 stitches). Don’t slip stitch to close the round (or any round from this point forward). As this is a coiled technique, crocheting is done in a continuous fashion. Put a stitch marker in the 8th sc you make, to mark the end of one round and the beginning of the next. For a stitch marker you can sue a contrasting piece of yarn, a safety pin, a bread bag twist tie, or buy a bag of stitch markers at the craft store.
Round 3: Begin crocheting over your cording material at this point. If the cording material is too stiff, do 1 or more rounds of yarn-only crochet until you can easily crochet over your cord. I typically cut the end of the cord at an angle so it’s thinner at the beginning — it is easier to start crocheting over it that way. Do 2 sc in each of the sc stitches from the previous row, crocheting over the cord. When you get to the stitch marker, remove it and place it in the 16th sc you just made. Remember – don’t close or join the round in any way, just move your stitch marker to your new last stitch. You are crocheting this in a coiled (spiral) manner. This way it won’t leave a seam or gap. For more information on crocheting in a spiral vs. joining rounds, see this blog post by Claire Ortega-Reyes: Different Ways To Crochet In the Round
Round 4: *1 sc in first stitch, 2 sc in next stitch* and then repeat from * to *. You should end up with 24 sc stitches in this row when you get back around to your stitch marker.
Round 5: *1 sc in the first two stitches, 2 sc in third stitch* and repeat. 32 sc stitches total.
Round 6: *1 sc in the first three stitches, 2 sc in the next stitch* and repeat. 40 sc stitches total. If you’ve been noticing the math on this, you are basically increasing by 8 stitches in each round. This should be keeping your circle nice and flat. If it is curving up to much, you may need to sneak in a couple of extra increases. If it is getting too wavy, you need to do less increases. This is where the crochet artist “tinkering” comes in. How tight or lossely you crochet makes a difference. So does the thickness of your yarn and the size of your hook. How deeply or shallowly you crochet also has an impact. For example, some people pull their loops up high (deep) and some barely pull a loop through the previous stitch (shallow or short).
Round 7: *1 sc in the first 4 stitches, 2 sc in the next stitch* and repeat. 48 sc stitches total.
Round 8: *1 sc in the first 5 stitches, 2sc in the next stitch* and repeat. 56 sc stitches total.
When the base of your bowl is as wide as you like, you can start increasing less to make the sides start to go up. My formula for 45-degree angle sides is to now increase only 4 stitches per round. To do this, I just place 4 stitch markers fairly evenly around the last row. Whenever I get to 1, I just do 2 sc stitches instead of 1 (an increase). When I want the sides to go straight up vertically (a 90-degree angle) I just stop increasing all together. If I want the sides to curve inward, I decrease my stitches per row. The more you decrease the more drastic of a curve you will make.
Round 9: Place 4 stitch markers evenly spaced around previous round with the 4th marker in the last stitch of round 8.. Sc in each stitch until you get to a marker. In that stitch, remove the stitch marker and do 2 sc stitches.
Round 10-?: Repeat round 9. Do as many rounds as you want until the bowl is as high as you’d like. I did about 9 of these rounds in my experiment.
Finishing Round: Do one full round that has no increases or decreases. At the end of the round, cut the cord at a tapered angle. Crochet over the tapered angle and beyond for one more round (no increases or decreases). You can end your basket at this point and maybe do a crab stitch (backwards sc) all around to finish it off. In the bowl I made, is made a ruffly edge by doing 2 sc stitches in each sc of the previous round. I did that for 3 rounds and then I did a final round in the crab stitch.
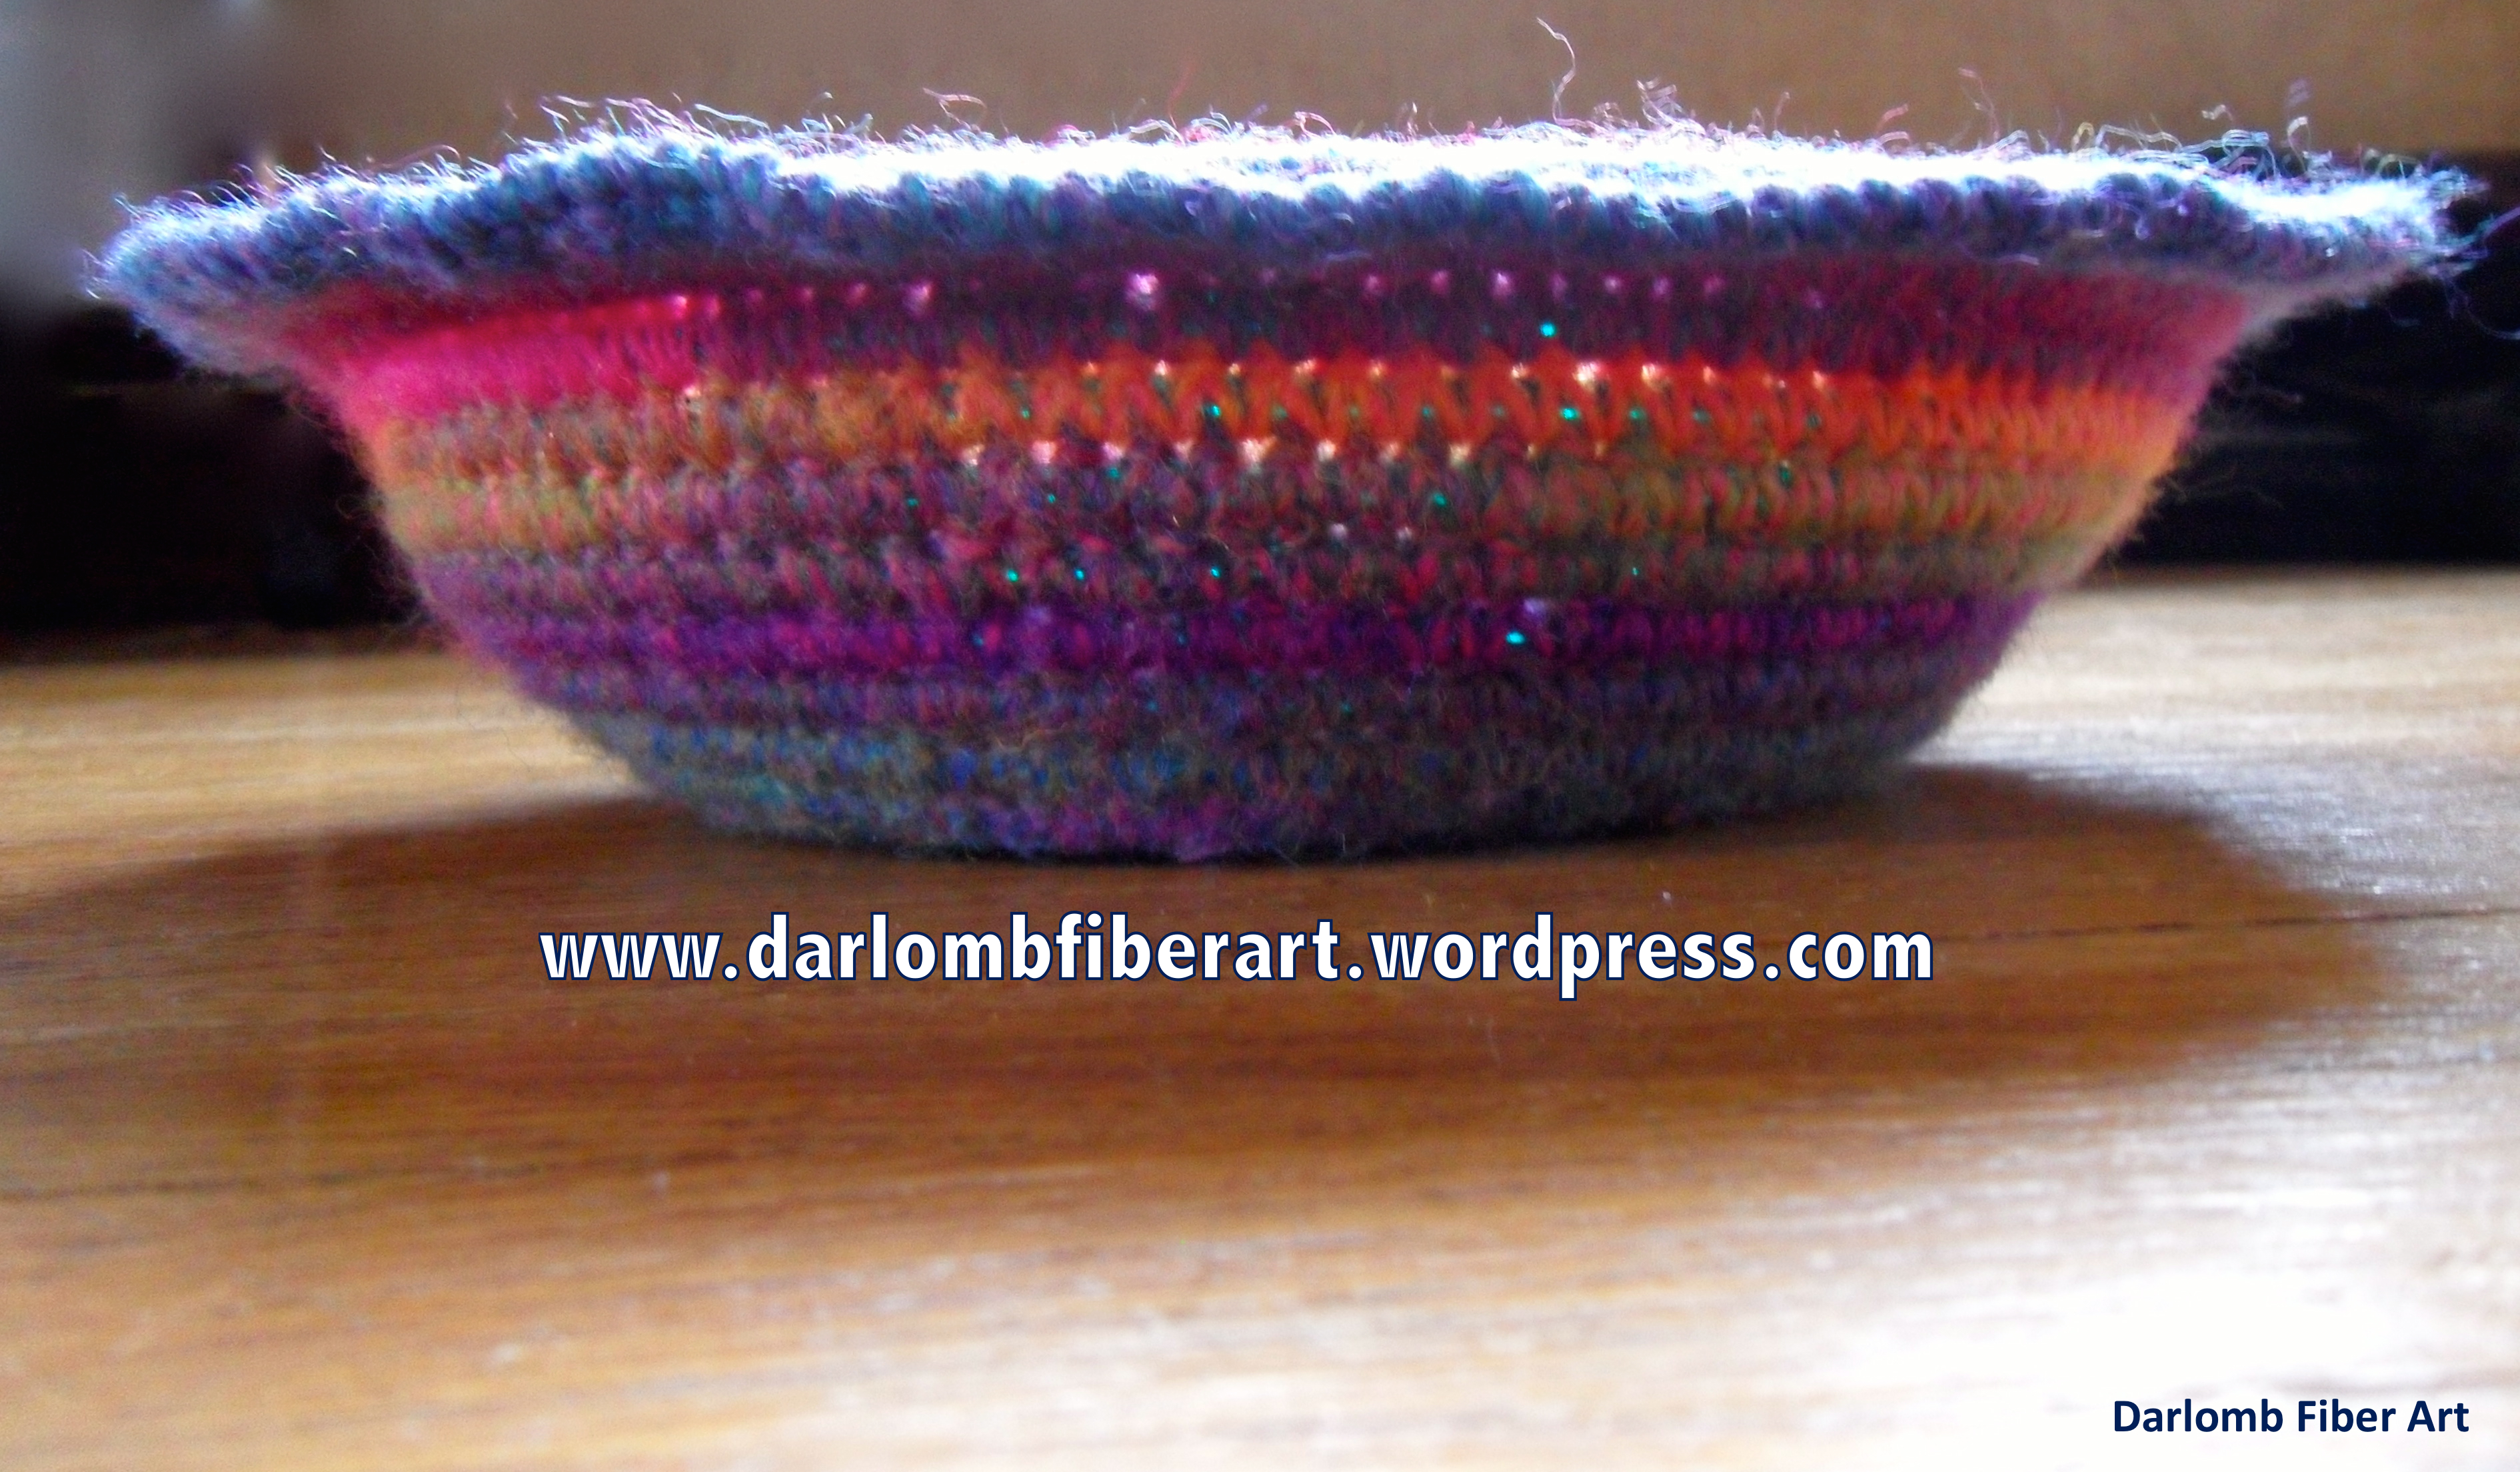
45 degree angle for the sides of the bowl

Crochet Coiled Basket Close-Up
.

Here is a tutorial on clothesline crochet from Priscilla’s Crochet that you may find helpful (click on the image):
.

Clothesline Crochet Tutorial – click on image
IDEAS for VARIATIONS of the BASIC CROCHET COILED BASKET
Here are some ideas for materials to use for the inner cord of your coiled crochet basket or bowl project. Click on the pictures for links:
Colored Jute Twine

Crochet your own cord
Experiment with everything from thread weight to bulky weight yarn. Here is a link to the instructions for crocheting a basic cord:

Tutorial on crocheting a cord can be found on Renate Kirkpatrick’s Freeform Crochet~Knit~Fibre Designs (click on image)
Fiber Rush

Fiber Rush
Coiling Core

Coiling Core in various diameters
Round Leather Cord
TIP: You may want to let some of the cord show through. In that case, try skipping every other sc stitch and doing a chain stitch instead. Alternate in each row.

Round Leather Cord in various colors and diameters
Cotton Welting Cord

Cotton Welting Cord
Handspun Rag Yarn
(see tip about letting it show through above)

Handspun Rag Yarn/Cord
Plastic Clothesline

Plastic Clothesline
Plastic Coated Wire Clothesline

Wire Cable Clothesline
Cotton/Polyester Clothesline Rope

Clothesline Rope
Newspaper Yarn

Recycled Newspaper Yarn

Newspaper Yarn as Art
Raffia

Raffia – shiny or matte finish in a wide variety of colors
Paper Covered Floral Wire

Paper Covered Floral Wire
Paper Yarn

Paper Yarn
Paracord

Paracord
Folded Fabric Strips
Available at Hobby Farms and at Halcyon Yarn

Fabric strips folded with a varifold (braided rug) tool
Irish Waxed Linen Cord

Irish Waxed Linen in different sizes and colors
.
For more ideas, take a tour of your local hardware, home improvement, bait & tackle, yard & gardens, upholstery, and craft stores. Look at all materials through the lens of crocheting. It’s fun to think up new uses standard items.
.

Thanks! Good ideas and inspiration!
Thanks, Linda!
very good idea. it looks gorgeous….
Thank you, Helena! Best wishes with your new blog. 🙂
Hi! Ran across your reference to the varifold tool and want to buy one, but no amount of searches on the internet or stores such as Joanns or Hobby Lobby turn up a source in which I can buy one.
Help! Can you steer me in the right direction?
Hi! I found them online at Halcyon Yarn in the rug making section: https://halcyonyarn.com It looks like they have 3 different brands.
I am on oxygen 24/7 and I have thick green tubing and thinner clear oxygen tubing that needs to be changed frequently. I am going to save my old tubing and use it to make a basket.
What a great idea! Thanks for sharing that Brenda!
Your instructions are so easy to follow. Great idea! Possibilities are endless.
Thank you so much, Dorothy!